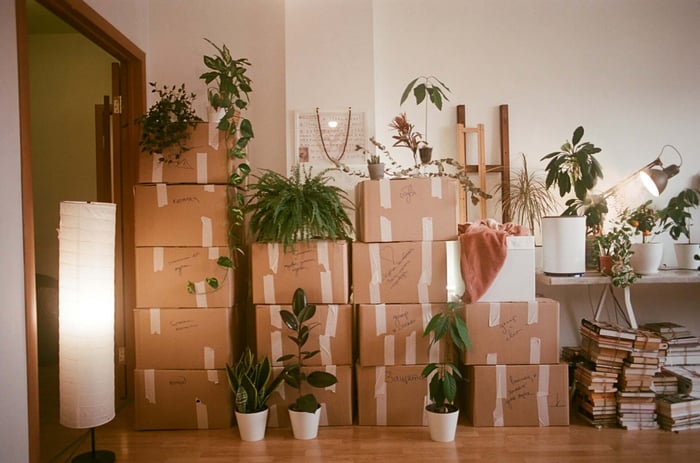

You just closed. The keys are in your hand, boxes are stacked in the entryway, and somewhere underneath the excitement is a low-level anxiety you cannot quite name. It is not about the move itself, but about everything you have just inherited: appliances with no paperwork, systems you have never touched, and a maintenance clock that started ticking the moment you signed.
Most first-time homeowners spend their first month reacting to things rather than getting ahead of them. Keeping your home records, warranty documents, and maintenance tasks in a single organized place from day one changes that. Manse lets you do exactly that, and you can add your home for free in minutes.
Keep reading to find a practical new-home checklist broken into three time blocks for your first 30 days. Each section builds on the one before it, so you make progress instead of circling the same overwhelm. The guide is written to be scanned quickly, whether you are standing in your kitchen or sitting on a box at midnight.
What to Handle in Days 1 Through 7
The first week is about safety and access, not decorating or unpacking. Get these tasks done before anything else because skipping them poses a real risk.
Change Exterior Access
Every lock in your new home has a history you do not know. Previous owners, contractors, real estate agents, and cleaners may all have copies of those keys. Rekeying your locks is not expensive, and most locksmiths can complete the job in under an hour. Do not wait until you feel settled.
Check every exterior entry point: front door, back door, garage entry door, and any side gates with keyed locks. While you are at it, test every deadbolt and confirm that sliding door locks engage fully. A door that does not latch correctly is an easy fix now and a problem later.
If your home has a smart lock or a garage keypad, change those codes on day one. Write the new codes somewhere private, not on a sticky note near the door.
Locate Shutoffs and Safety Gear
Knowing where your main water shutoff is before a pipe bursts is the difference between a small repair and a flooded floor. Walk the home specifically to find and label these locations on your first day.
Here is what to locate and confirm:
Main water shutoff valve (often near the water meter or in a utility closet)
Individual shutoffs under sinks and behind toilets
Main electrical panel and any subpanels
Gas meter shutoff, if your home has gas
Smoke detectors and carbon monoxide detectors in every required area
Test every smoke and CO detector. Replace batteries in any unit that chirps or fails the test. If any detector is more than ten years old, replace the whole unit. Most have a manufacture date stamped on the back.
Test Essential Systems
Run every system in the house before you call it a week. You want to catch problems while the details of your closing inspection are still fresh in your memory.
Turn on every faucet, flush every toilet, and run the dishwasher through a full cycle. Switch on every light switch and outlet to confirm they work. Turn the HVAC on in both heat and cool mode and let it run for fifteen minutes. Check the temperature at vents to confirm airflow. Check the water heater's temperature setting; 120 degrees Fahrenheit is the standard recommendation.
This is also a good time to pull out any appliance documentation the sellers left behind. Instruction booklets, warranty cards, and service records are all useful, and they are easy to misplace during the chaos of moving in. Set them aside in one pile for now. You will do something with them in week three.
What to Tackle in Days 8 Through 14
Once your safety basics are done, the second week is about getting your home officially set up in your name and taking a hard look at what it needs.
Set Up Utilities and Service Accounts
If you have not already transferred the utilities into your name, this is the week to complete that task. Gas, electric, water, internet, and trash pickup should all show your name and your new address. Some providers require a few days to process transfers, so do not wait.
Also, update or set up your mailing address with the USPS, your bank, your employer, and any subscriptions. It is easy to assume this is already done and then discover a bill went to your old address two months later.
While you are managing accounts, call your homeowner's insurance provider to confirm your policy is active and that the coverage reflects your actual home. New homeowners sometimes find that a policy was written with incorrect square footage or outdated replacement values.
Catch Up on Basic Upkeep
The previous owners may have left the home in good shape. They also may have let a few things slide. The second week is a good time to handle basic maintenance tasks that should happen regardless of the home's condition.
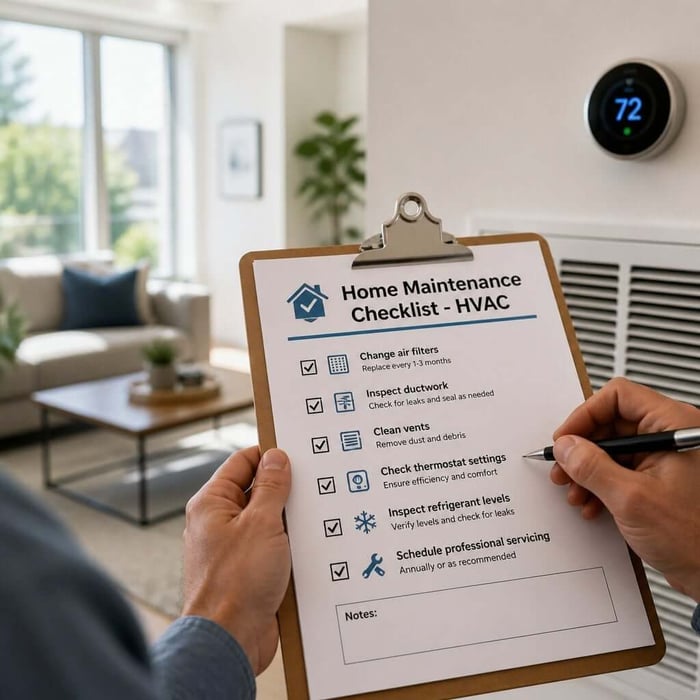
Replace the HVAC air filter if you did not already do it during week one. Check the date on the current filter if it has one. A filter that hasn't been changed for 6 months or more needs to go. Pick up a few replacement filters so you have them on hand.
Check under sinks for any signs of slow drips or water stains on the cabinet floor. Look at caulking around tubs and showers. None of this is urgent, but catching small moisture issues early keeps them from becoming mold issues later.
Walk the Property for Early Problems
A slow, deliberate walk around the exterior of your home will tell you more than a quick glance ever will. Look at the roofline from the ground for missing shingles or sagging sections. Check gutters for visible blockages or sections that have pulled away from the fascia.
Look at the foundation perimeter for cracks, especially horizontal ones, which are more serious than hairline vertical ones. Check where the soil meets the foundation; it should slope away from the house, not toward it. Note anything that looks off, even if you are not sure what it means yet.
Take photos of anything that concerns you. Those photos become your baseline. If something changes or worsens over time, you will have a dated record to compare against. That documentation habit will serve you well through the rest of this checklist.
Build Your Home Records in Days 15 Through 30
This is the part most new homeowners skip entirely, and it is the part that causes the most frustration later. Building your records now costs you a few hours. Not doing it costs you much more when something breaks, and you cannot find the manual, the warranty, or the model number.
Photograph Appliances and Serial Tags
Go to every appliance in your home and photograph the model and serial number tag. These are usually located on the inside of a door frame, on the back panel, or on a sticker inside the unit. Do not rely on memory or a spreadsheet you will lose track of in six months.
The appliances worth documenting include:
Refrigerator
Dishwasher
Oven and range
Microwave (especially if it is built-in)
Washer and dryer
Water heater
HVAC unit (model number is usually on the exterior unit label)
Garbage disposal
Any built-in features like range hoods or whole-home humidifiers
Take a wide shot of the appliance and a close shot of the tag so you can read it clearly later. This takes about twenty minutes total and will save you hours when you need to order a part or file a warranty claim.
Collect Warranties and Manuals
Every appliance has a warranty period, and most new homeowners have no idea when theirs expire. Many manufacturers require you to register the product within a set window or the warranty is void. If any of your appliances were recently purchased by the sellers, you may still be within that window.
Check the paperwork the sellers left, look inside appliance drawers for booklets, and search the manufacturer's website using the model number you just photographed. Most manufacturers offer a PDF version of the manual if the physical one is missing.
Store Your Notes in One Place
Here is where the whole process falls apart for most homeowners: the photos go to your camera roll, the PDFs go to an email folder, the paper manuals go in a junk drawer, and within a year, none of it is findable. That is a real and frustrating problem when your dishwasher stops draining, and you need the model number fast.
Add your home to Manse for free and keep all appliances, manuals, and maintenance tasks in one private place. Your records belong to you and stay with your home, not scattered across email threads and old phones. When something breaks, you already have what you need.
Done documenting? That record becomes your running home file, and the next section will show you what to do with the repairs and issues you have already spotted.
Prioritize Repairs Before They Get Expensive
Small problems in a home almost never fix themselves. The goal right now is to separate what needs attention soon from what can wait, so you spend money and energy where it actually matters.
Separate Urgent Issues From Cosmetic Ones
Urgent issues are anything that involves water, electrical safety, structural movement, or active pest presence. A slow leak under a sink, a double-tapped circuit breaker, a door that does not close because the frame has shifted, or evidence of termites: these need to move to the top of your list.
Cosmetic issues include scuffed baseboards, dated light fixtures, carpet that needs replacing, or paint colors you dislike. They affect how the home looks but not how it functions or how safe it is. These can wait weeks or months without consequence.
A simple way to sort your list:
Fix now: water intrusion, electrical hazards, gas smells, structural concerns, pest activity
Fix soon (within 90 days): failing caulk, aging water heater, HVAC that struggles to hold temperature
Fix later: cosmetic updates, landscaping, aesthetic improvements
Plan Your First Contractor Calls
Once you know what is urgent, get estimates before you commit to any repair. For anything involving electrical panels, gas lines, or foundation issues, use a licensed contractor. Ask your real estate agent or new neighbors for referrals before you default to a search result.
When you contact a contractor, have your appliance model numbers and any relevant photos ready. Showing a plumber a photo of the leak and the shutoff valve location saves time on both sides. Keep a written note of every contractor you contact, what they quoted, and when they came out. That history can be useful if you ever sell or file an insurance claim.
Set a Simple Maintenance Rhythm
Getting a maintenance routine started in your first month means tasks do not pile up invisibly until something breaks or a warranty expires. A simple system is a system you will actually use.
Create Monthly Reminders
Monthly tasks are the ones most homeowners skip because they feel minor until they are not. A clogged HVAC filter left unchecked for six months drives up your energy bill and can shorten the unit's lifespan. A running toilet wastes hundreds of gallons of water before anyone notices.
Set calendar reminders for these monthly tasks:
Check and replace HVAC filter (every 1 to 3 months depending on filter type)
Test smoke and CO detectors (press the test button)
Check under sinks for any new moisture
Clear any debris from outdoor HVAC unit
Monthly reminders work best when they are tied to a date you already notice, like the first of the month or the day you pay your mortgage.
Map Out Seasonal Tasks
Seasonal maintenance follows the calendar and the climate. Skipping fall gutter cleaning in a wet region can cause water to back up against your roof. Skipping spring HVAC service means your system is working harder all summer without anyone checking the refrigerant or coils.
Here is a basic seasonal map for most US climates:
Manse is free to start. Add your home in minutes and build the record you wish you had from day one.
Frequently Asked Questions
What Should You Buy in the First Week so Your Home Is Livable and Safe Right Away?
Focus on safety items first: batteries for smoke detectors, a basic tool kit, and a flashlight with extra batteries. Beyond that, stock cleaning supplies, toilet paper, trash bags, and a few basic kitchen items so the home functions while you unpack.
How Do You Break the Move-In Tasks Down by Room so Nothing Important Gets Missed?
Start with the kitchen and bathrooms since those rooms need to function on day one. Then move to bedrooms, and leave common areas and storage for last. Within each room, check for moisture, test outlets, and note anything that needs repair before you organize and decorate.
Where Can You Get a Free Printable Move-In Checklist That Is Not Cluttered With Ads?
Many real estate and home improvement sites offer clean, printable versions, but their quality varies. The structure in this article covers the same ground and can be copied into a notes app or printed directly from your browser without ads or required signups.
What Small Items Do Most People Forget Until the First Night, Like Trash Bags and Shower Supplies?
The most commonly forgotten items are shower curtains and rings, toilet paper, a bar of soap, dish soap, paper towels, and a can opener. Pack these in a labeled box or bag that stays with you during the move rather than going into a truck.
What Should You Check and Document During the Walkthrough to Resolve Issues Fast?
Photograph every room before your furniture arrives, paying attention to existing scuffs, cracks, and stains. Test every switch, outlet, and faucet. Note the condition of the appliances and document any damage with dated photos so you have a clear baseline if disputes arise later.
What Is the Easiest Way to Keep Your Home Records Organized so You Can Find Them Later Without Losing Control of Them?
Keep everything in one place from the start, whether that is a dedicated folder on your phone or a home management tool. The biggest mistake is splitting records between email, paper, and photos apps. When something breaks, you will not have time to search three places at once.
Your First 30 Days Set the Tone for Everything After
A new home checklist is only useful if it leads somewhere. The goal of these 30 days is not to be perfect, but to build a foundation that makes every problem after this easier to handle.
When your appliance records are documented, your reminders are set, and your repair list is sorted by priority, you are no longer reacting. You are managing your home on your own terms.
Done troubleshooting? Track that appliance in Manse, so the next time something goes wrong, the manual and warranty are already there.